Simple DIY Garden Watering System Without Leaks
By Amina Okoye • 3rd Oct
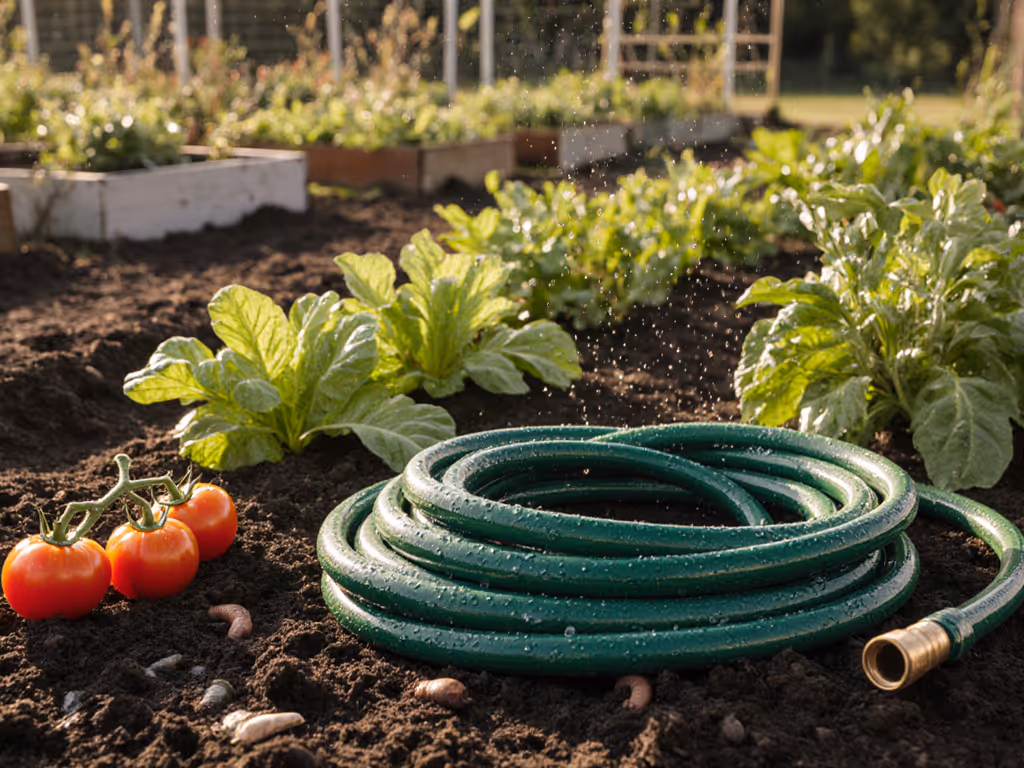
If you're tired of wrestling with leaky connections and inconsistent water flow in your yard, you're not alone. Creating a reliable garden watering system DIY project shouldn't turn into a frustrating chore that has you constantly checking for drips. With the right approach to building an automatic garden watering setup, you can enjoy consistent performance season after season, without the constant dance of tightening fittings or replacing worn components. The difference between a system that works and one that fails often comes down to thoughtful planning and understanding how components work together, not just throwing together whatever fits at the hardware store. In my community garden work, I've seen how a properly designed system transforms watering from a chore into a smooth, almost invisible part of garden maintenance.
Understanding Why Leak-Free Matters
When connections leak, it's rarely just about the wasted water (it's about the bigger picture of system reliability and your relationship with your garden). Persistent drips erode trust in your setup, making you check connections repeatedly instead of enjoying your outdoor space. Leaks often point to deeper issues: mismatched thread types (GHT vs. BSP), incorrect washer sizes, or pressure that overwhelms your components. I've watched gardeners abandon automatic systems entirely after one too many soggy mornings caused by a timer that didn't seal properly.
Comfort and safety are features, not accessories or afterthoughts.
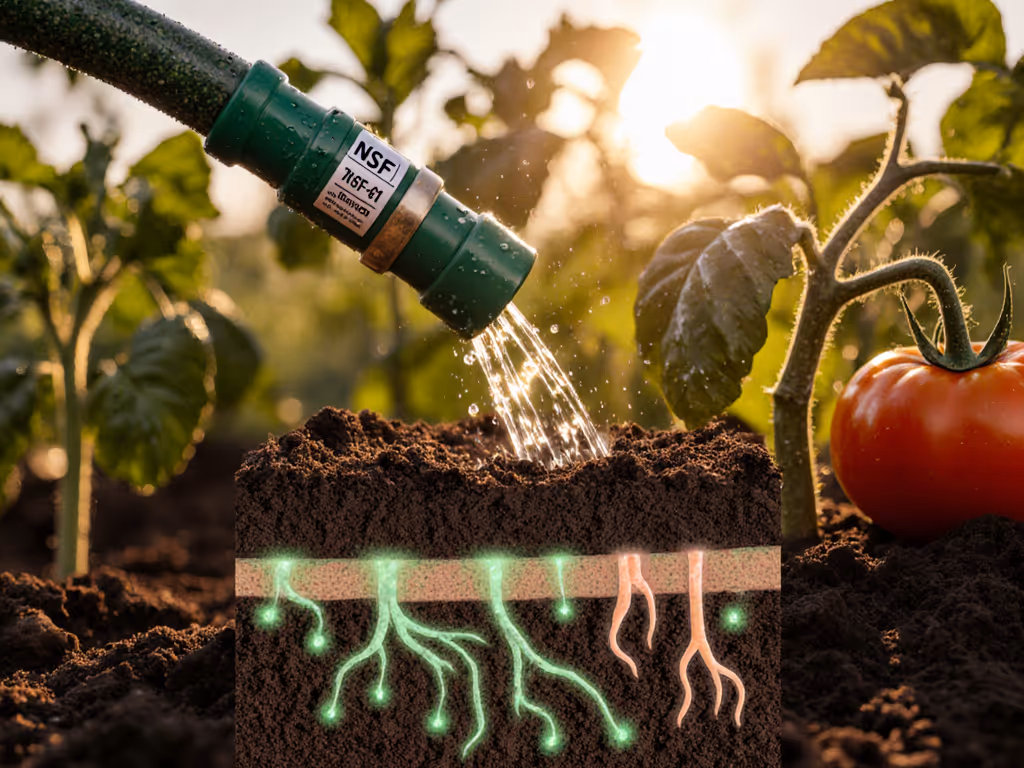
The most reliable systems incorporate what I call a "strain-free setup" (one where every connection slides together smoothly without forcing, where you don't need channel-lock pliers to tighten fittings, and where components align naturally without twisting). When your garden watering system respects your physical comfort and water safety, you're more likely to use it consistently and correctly. This is especially important for vegetable gardens where lead-free, food-safe components protect both plants and people.
Essential Components for a Leak-Proof System
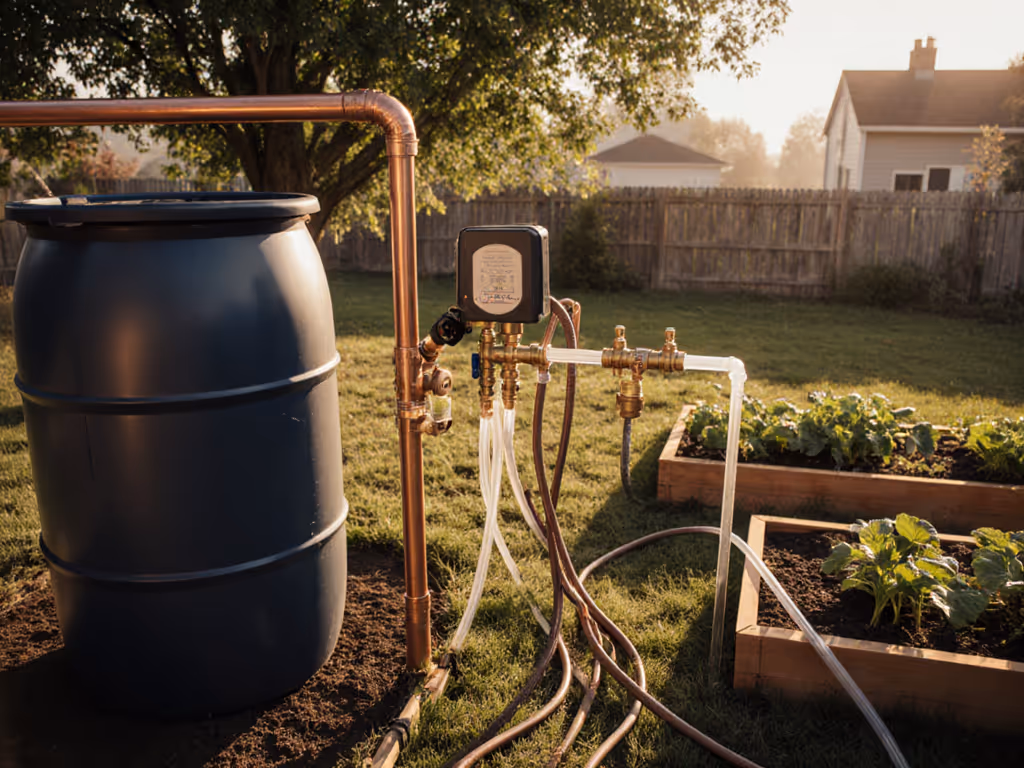
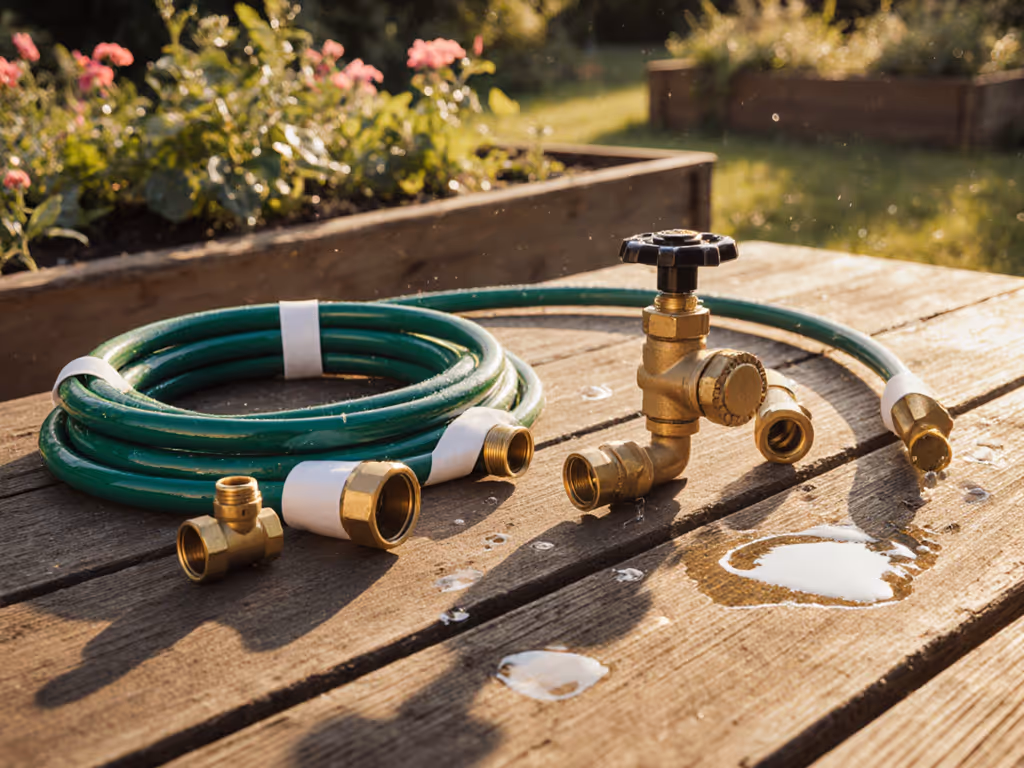
The Foundation: Water Source Connections
Your system's reliability starts right at the spigot. Many leaks begin with a simple failure to use plumber's tape (Teflon tape) on threaded connections (a five-second step that prevents 80% of spigot leaks). Wrap tape clockwise around male threads (typically 2-3 layers), then hand-tighten your first component until snug. Never use tools to over-tighten; this cracks fittings and creates new leaks.
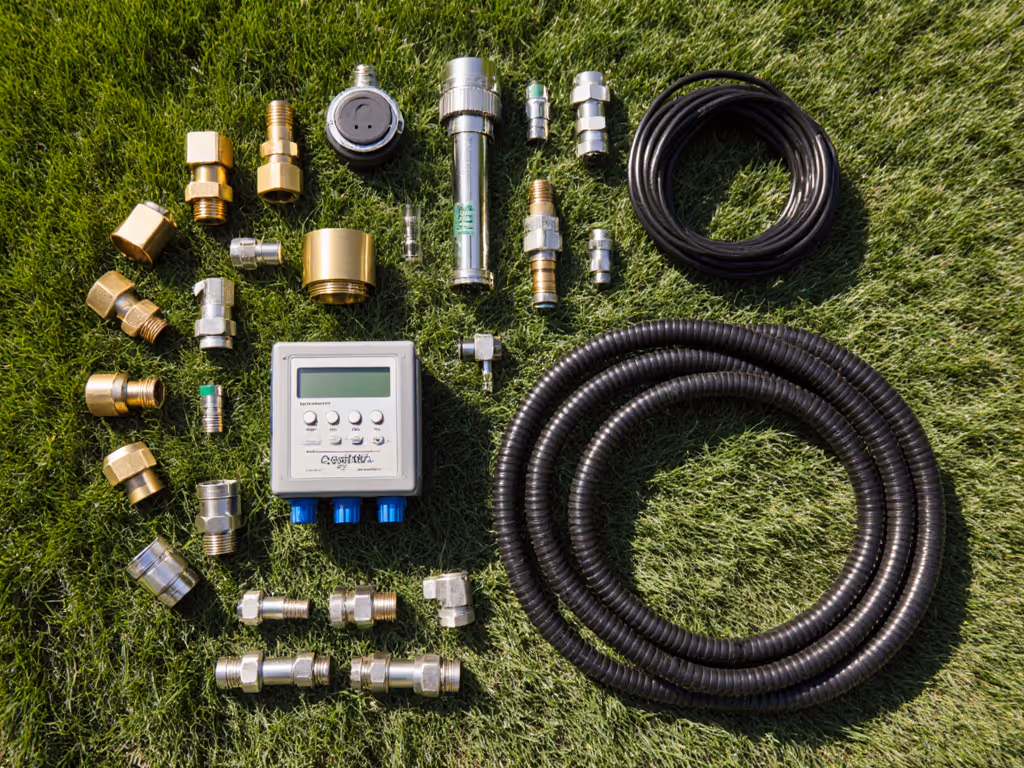
- T-Connector/Y-Splitter: Choose brass over plastic. Look for "1/2 inch female garden hose thread" (standard in North America) and verify it has a rubber gasket inside. This lets you maintain your regular hose while adding irrigation.
- Timer: Select one with a built-in pressure regulator if using drip irrigation. Manual timers are less prone to failure than battery-operated ones in extreme temperatures.
- Pressure Regulator: Essential for drip systems (should reduce pressure to 25-30 PSI). Without this, higher home water pressure bursts fragile drip lines. To match your hose and components to safe operating pressures, see our garden hose PSI ratings comparison.
Hose Selection: More Than Just Length
The best watering hose for garden reliability combines materials that resist kinking with proper diameter for your water flow. For most home systems:
- Diameter: 5/8 inch provides the best balance of flow and manageability
- Material: Reinforced rubber or hybrid (latex/rubber) lasts longer than vinyl
- Features: Look for double brass connectors and swivel joints at both ends
When watering with hose as part of your irrigation system, remember that kinks create pressure spikes that force leaks at weak points. Test potential hoses by coiling them tightly and watching how quickly they straighten. Quality hoses return to shape within 30 seconds without permanent bends.
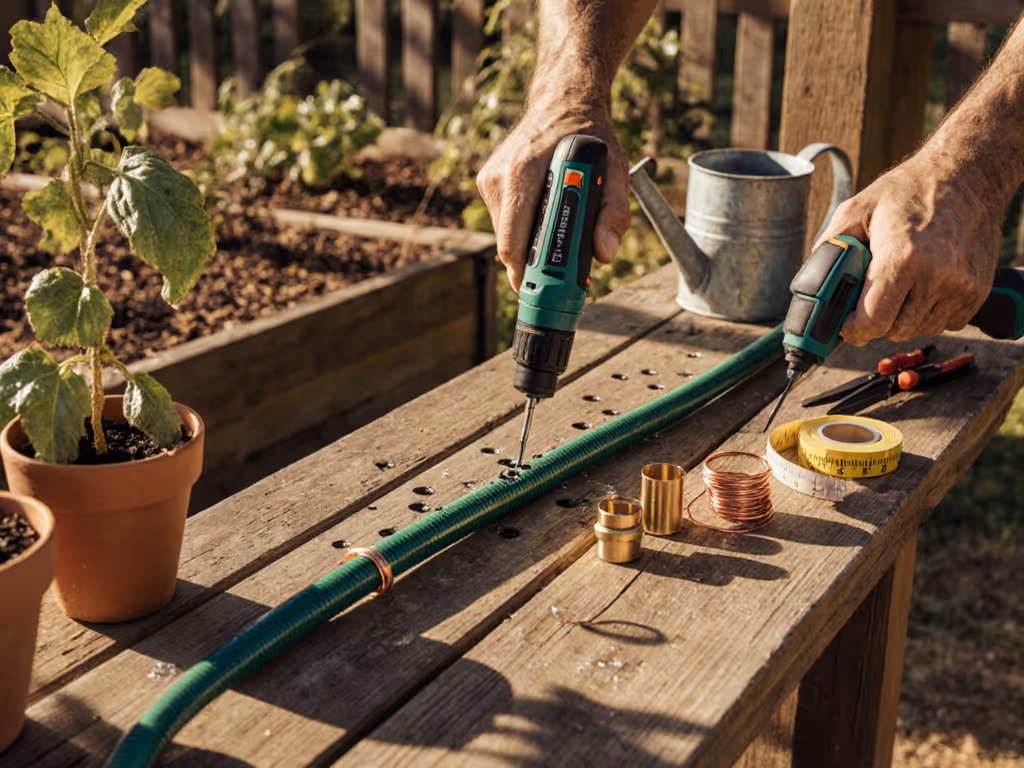
Building Your Leak-Free System: A Practical Checklist
Step 1: Plan Before You Connect
Sketch your garden layout showing spigot location, garden beds, and obstacles. Note:
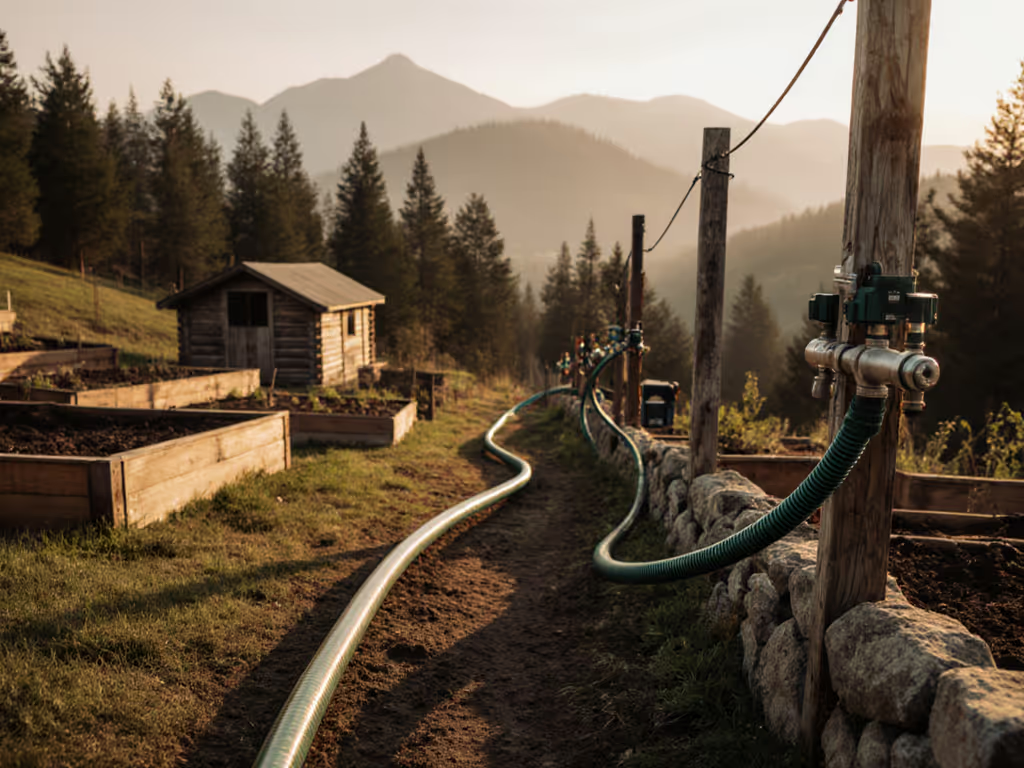
- Total hose/run length needed (don't exceed 100 feet without adding another pressure regulator)
- Number of connection points
- Special requirements for vegetable beds (food-safe materials)
Step 2: Sequence Your Assembly Correctly
Connect components in this order to prevent pressure-related failures:
- Attach T-connector to spigot (with plumber's tape)
- Connect timer to T-connector
- Add pressure regulator to timer (if not built-in)
- Connect main supply line (hose or tubing)
- Add distribution components (drip lines, sprinklers)
Step 3: Test Before Finalizing
Before burying lines or securing everything:
- Turn water on slowly
- Check all connections while system pressurizes (look for drips, listen for hissing)
- Run system for 10 minutes to catch slow leaks
- Make sure drip lines deliver water evenly across garden beds
If using drip irrigation, let it run while you're away for 20 minutes. This reveals issues that might not show up in a quick test. True automatic garden watering should work reliably whether you're watching or not.
Maintenance for Long-Term Reliability
The Seasonal Checkup
Twice a year (spring and fall), perform these simple checks:
- Replace rubber washers in all connections (keep spares in your garden shed)
- Inspect hoses for cracks, especially near connectors
- Clean filter screens in timers and pressure regulators
- Check drip emitters for clogs from mineral deposits
Winterization Without Headaches
In freeze-prone areas, skip the complicated blow-out process. Instead:
- Disconnect all components from spigot
- Drain water from hoses/tubing by hanging vertically
- Store timers, regulators, and drip components indoors
- Leave spigot in "on" position to prevent trapped water from freezing
The most reliable garden watering systems incorporate simple tests for comfort and safety that anyone can perform. Can you easily reach and operate every shutoff? Does your hose handle lay flat without kinking around corners? When watering with hose attachments, does the grip feel comfortable for extended use? These aren't minor details (they're the difference between a system you maintain willingly and one you avoid).
I've seen gardeners stick with leaky, frustrating setups for years because they believe "that's just how hoses work." But the reality is that comfortable, safe systems get used properly and consistently. When you eliminate the physical strain and water safety concerns from your garden routine, you'll find yourself spending more time enjoying your space and less time fixing preventable problems.
If you're ready to move beyond temporary fixes and create a garden watering system that works reliably, explore additional resources on pressure testing your home system or calculating optimal drip line spacing for your specific garden layout. Your plants (and your back) will thank you.
Comfort and safety are features, not accessories or afterthoughts.
Related Articles