Clean Your Garden Hose: Complete Biofilm Removal Guide
By Marco Alvarez • 12th Apr
Biofilm (that slimy layer of algae, mold, and bacterial colonies inside your garden hose) thrives in dark, wet environments and degrades water quality while strangling flow. The solution isn't complicated, but it is systematic: a combination of chemical and mechanical methods paired with airtight maintenance habits will restore your hose to working order and keep it that way. For storage and longevity best practices, see our year-round hose maintenance guide.
Understanding the Problem First
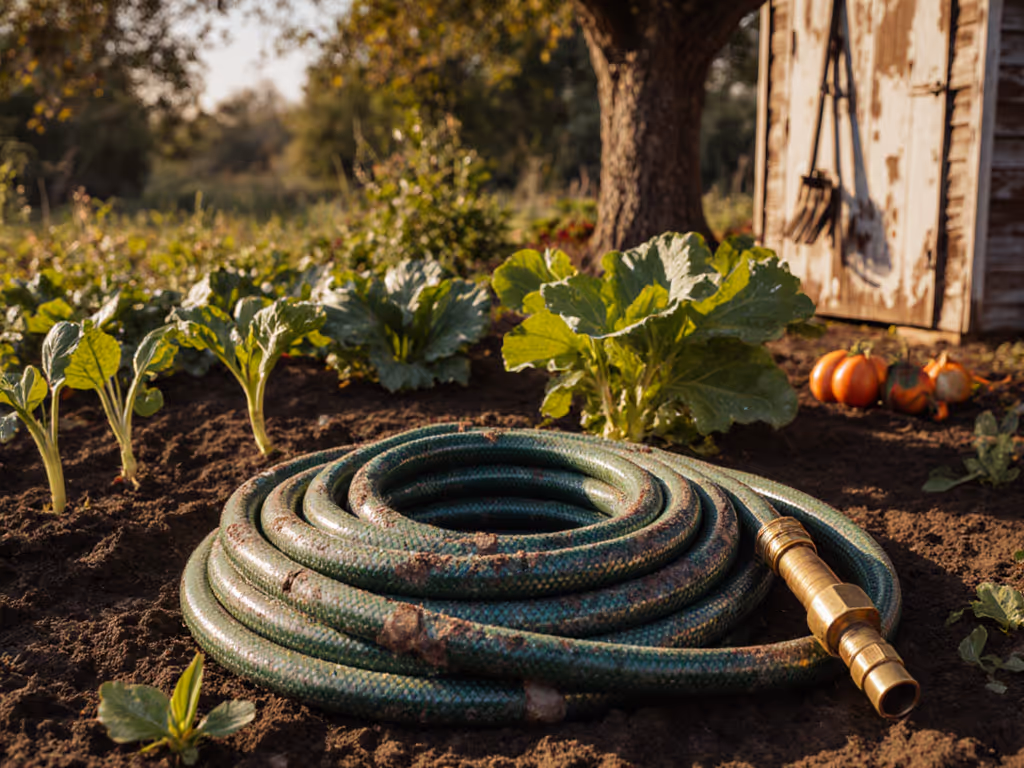
Before diving into remediation, it helps to know why biofilm forms in the first place. Stagnant water left in a hose after use creates an ideal breeding ground for unwanted bacteria and algae growth. That residual moisture sits inside the hose interior, where light can't reach and evaporation stalls. The result: green slime, cloudy water discharge, and a hose that needs cleaning far more often than it should. I learned this the hard way across three summers of rentals, watching two bargain hoses and a plastic reel fall victim to neglect and shortcuts. One rubber hose and proper drainage technique later, the churn stopped. The upfront discipline paid for itself before the next season.
The goal here is clear: remove biofilm thoroughly and then design a maintenance rhythm that prevents it from returning. Buy once, configure right, keep the water and time in.
The Complete Biofilm Removal Checklist
1. Start with a Visual and Pressure Audit
Connect your hose to a water source and let water run at full pressure for 30 seconds. If you're unsure about matching pressure and hose capability, review our hose PSI ratings guide. Check the discharge: if the water appears cloudy, discolored, or has a visible green or brown tint, biofilm is definitely present. If the flow feels weak compared to your spigot pressure, blockage has begun. Mark this baseline. You'll compare it to the post-cleaning result.
2. Drain Completely Before Any Treatment
Empty every drop of standing water from the hose. Angle it downward, let gravity do the work, and ensure the interior is as dry as possible before you introduce any cleaning solution. This step matters because residual water dilutes your treatment and prolongs soaking time unnecessarily. A friction-averse approach means not repeating steps, so drain thoroughly the first time.
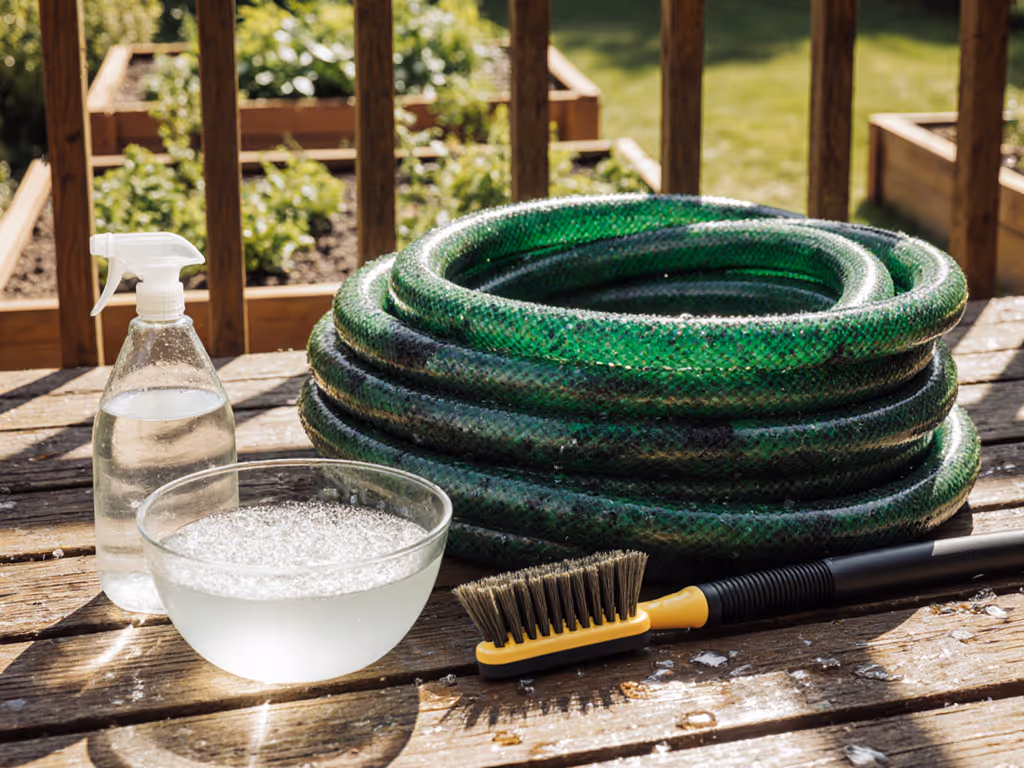
3. Choose Your Primary Treatment Method
You have three proven options, each suited to different biofilm intensity levels:
Vinegar Soak (Gentle, Organic)
- Best for: Light to moderate biofilm, preference for non-chemical methods
- Mix one part white vinegar and two parts water in a large bucket or trough
- Submerge the entire hose for at least 24 hours, ideally in direct sunlight (the heat accelerates the process)
- The acidity breaks down mineral deposits and microbial buildup without harsh fumes
- This is a no-fuss modular approach: vinegar is cheap, replaceable, and you likely have it on hand
Bleach Soak (Strong, Fast)
- Best for: Heavy biofilm or stubborn mold
- Measure 60 milliliters of bleach into a 5-liter bucket of water (precision matters here to avoid weakening the hose material)
- Submerge and soak for 8 to 24 hours depending on severity
- Rinse in a second bucket of clean water to remove residue
- Open your windows; bleach fumes require ventilation
Baking Soda Scrub (Mechanical Focus)
- Best for: Visible exterior dirt or combined with vinegar for internal scrubbing
- Mix baking soda with just enough water to form a paste, then work it through the hose with a long-handled pipe cleaner or soft-bristled brush
- The grit dislodges stubborn deposits; the alkaline nature neutralizes odors
- Follow with a high-pressure rinse
4. Perform a High-Pressure Flush After Soaking
Connect the hose to your spigot at full pressure and let water run for 2 to 3 minutes. The force physically dislodges loosened biofilm and rinses away dead algae. If you see green or brown water discharge, continue flushing until the output runs clear. This is your visual proof that the treatment worked. Don't skip this step (incomplete rinsing leaves behind chemical residue and partial biofilm that will regrow faster).
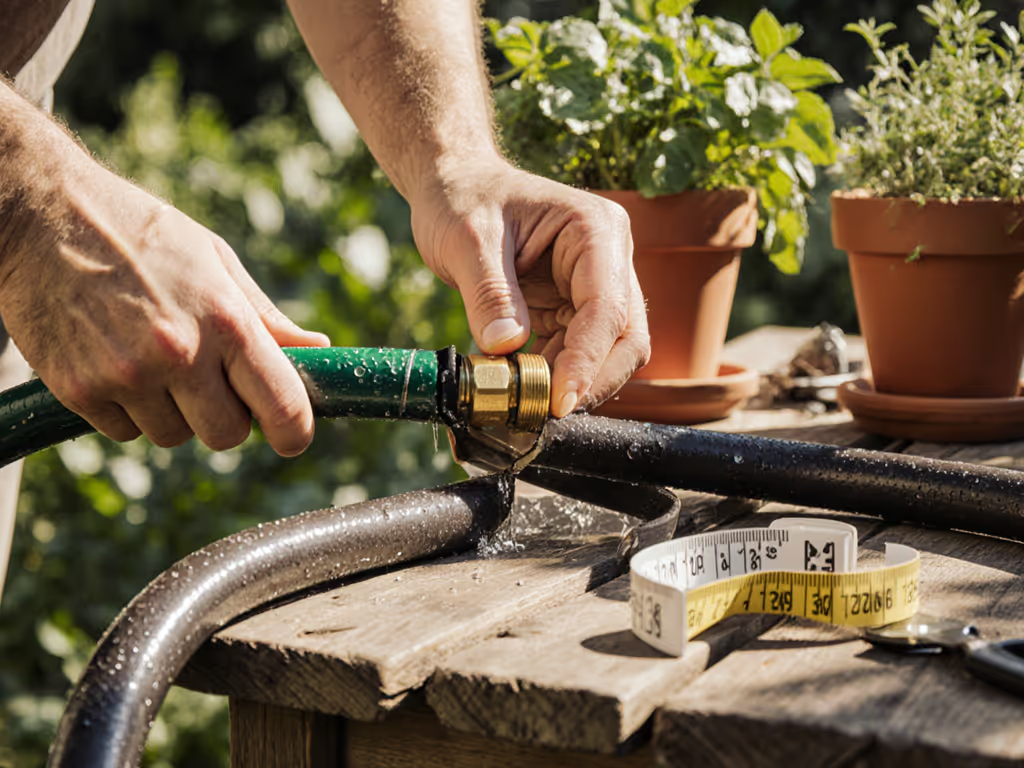
5. Clean the Nozzle and Fittings Simultaneously
While the hose soaks, address the nozzle and quick-connects. Upgrading to a quality leakproof nozzle sprayer reduces stagnation points and makes post-cleaning performance more consistent. Biofilm hides in threads, O-rings, and the nozzle spray plate where water pressure creates dead zones.
- Soak the nozzle head in a bowl of baking soda and white vinegar (the mixture foams, which helps lift debris) for 30 minutes
- Use a soft-bristled toothbrush to scrub the spray holes; a needle inserted into each hole removes trapped particles
- Wipe all threads and connection points with a cloth dampened in vinegar
- Dry completely before reattaching
Fittings and washers corrode or accumulate mineral buildup just as easily as the hose interior. A no-fuss kit includes spare O-rings and washers on hand, so you can swap and clean without downtime.
6. Verify Flow and Clarity Post-Cleaning
Run water again and confirm two things: the flow matches your baseline spigot pressure, and the water runs crystal clear. If flow is still reduced, biofilm may have calcified deeper in the hose, requiring a second treatment or mechanical scrubbing with a brush inserted partway and worked back and forth. If water is still discolored, repeat the soak and flush cycle. The cheapest hour is the one you never spend redoing this task, so be thorough the first time.
Preventing Biofilm Return: Hose Maintenance Techniques
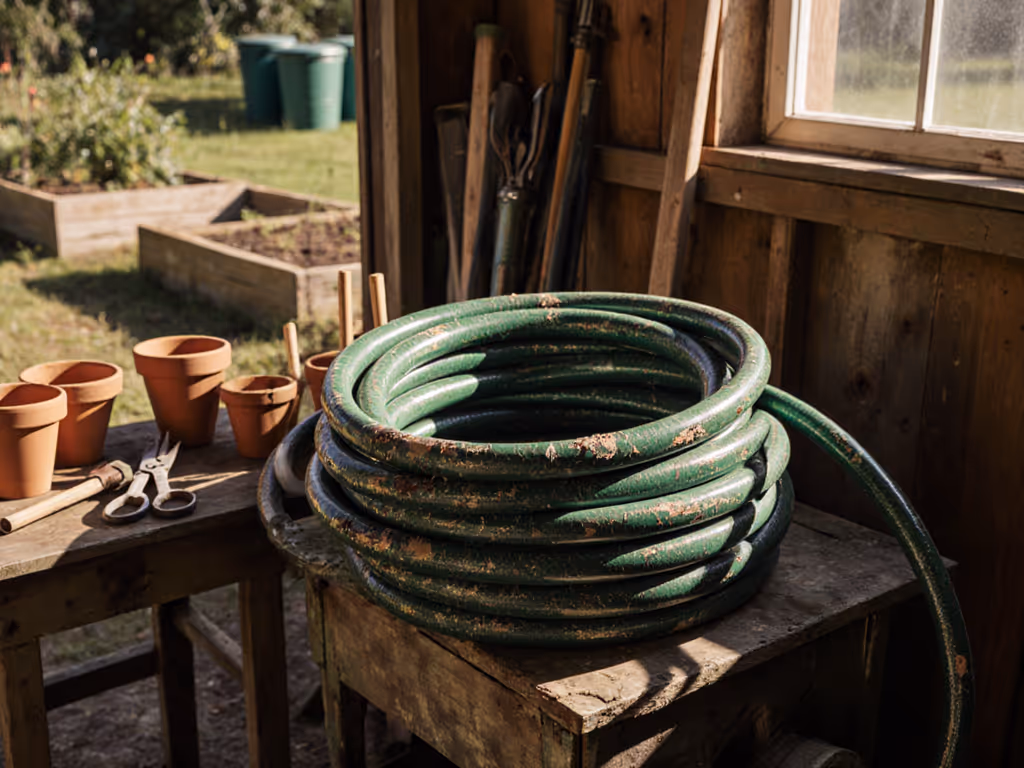
Once your hose is clean, the real win is keeping it that way. Water quality preservation starts with one discipline: never store a wet hose. A weatherproof hose reel solution makes draining and vertical storage effortless, cutting biofilm risk.
- Drain immediately after use. Angle the hose downward so gravity pulls every drop out, then hang it vertically on a wall hook or reel to let air circulate
- Use the hose regularly. Frequent use means water isn't sitting stagnant; algae requires weeks of stagnation to establish. A hose used three or more times per week rarely develops biofilm
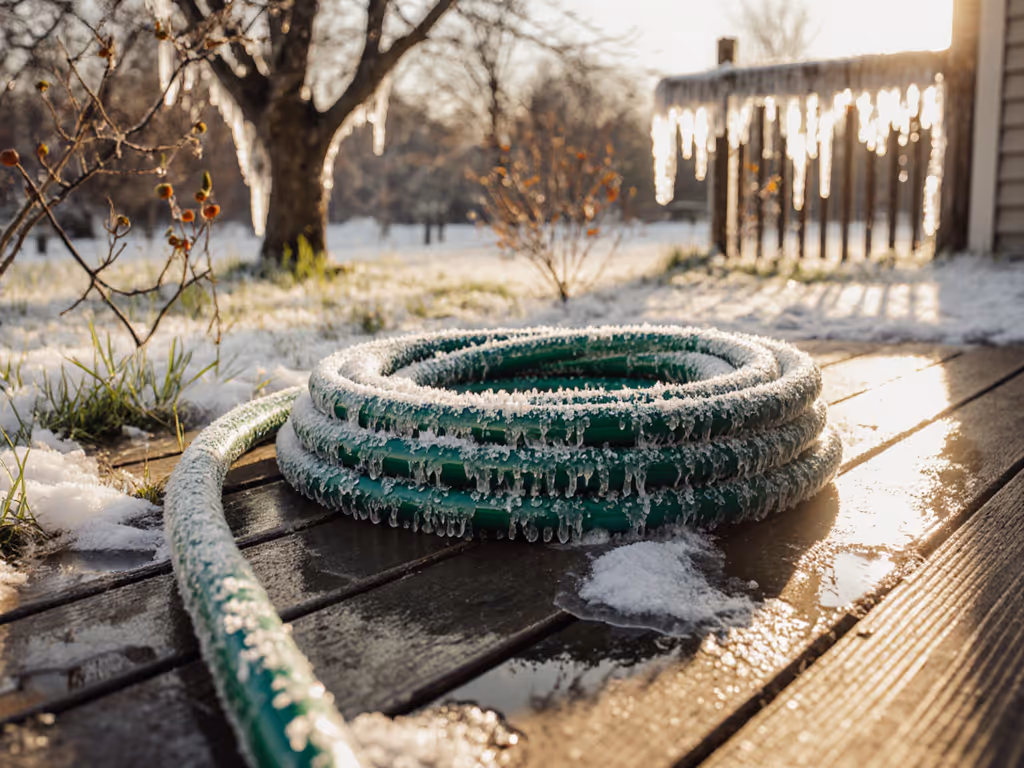
- Store in a shaded, dry location. Sunlight accelerates algae growth outdoors; keep your hose in a garage, shed, or coiled on a wall-mounted rack away from direct UV
- Clean every 3 to 4 months if you live in a warm, humid climate or use the hose heavily. In cooler or drier regions, annual cleaning may suffice
These steps are tedious only if you resist them. Build them into your routine and they become invisible (a 2-minute habit that eliminates 2 hours of scrubbing later).
Water Quality Preservation for Edibles and Pets
If you use your hose for vegetable gardens or filling pet bowls, biofilm isn't just an inconvenience; it is a safety concern. Learn how to choose drinking-water-safe garden hoses for edible gardens and herbs. Bacterial colonies can include harmful species that taint food or water. After cleaning, run the hose at full pressure for at least 30 seconds before watering edibles or refilling animal troughs. Some users prefer potable-rated hoses specifically designed for food-safe water; if that's your need, confirm the hose is NSF certified and has been treated with the same cleaning discipline.
Actionable Next Steps
Start today: drain your hose completely, inspect the interior discharge for color and clarity, and decide which treatment method matches your biofilm severity. If the water is light yellow or you see mild cloudiness, use the vinegar soak. If it's deeply discolored or you smell mold, choose the bleach method. Mark your calendar for a post-cleaning flush tomorrow, then commit to draining your hose after every use going forward. A checklist taped to your garage (drain, hang, check clarity weekly) takes the guesswork out of maintenance. Within two weeks, you'll have a hose that delivers clean, clear water every time and a rhythm that prevents returns. That's the foundation of a system that works for years, not seasons.
Related Articles